Table of Contents (click to expand)
Soil solarization helps kill pathogens that infect plants—such as worms, fungi, and bacteria—using heat. Farmers who use this method insulate the soil with a layer of plastic wrap during the hottest time of the year to heat the soil. The soil then reaches temperatures hot enough to kill the pathogens.
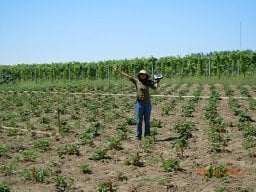
Have you driven past fields in the summer and noticed large areas covered with plastic? Farmers cover their fields with huge swaths of plastic to employ a technique called soil solarization, which kills soil-borne pathogens using the sun’s heat. Soil solarization is inexpensive, effective and chemical-free.
Soil-borne pathogens include fungi, bacteria, viruses, nematodes, and weeds that live in the soil and infect plants. Farmers can spray chemicals to prevent or cure diseases affecting the aerial parts (leaves, stem, flowers, fruits), and they ‘drench’ the roots with chemicals if they become infected. However, the best way to get rid of soil-borne pathogens is to treat the soil prior to sowing or planting.

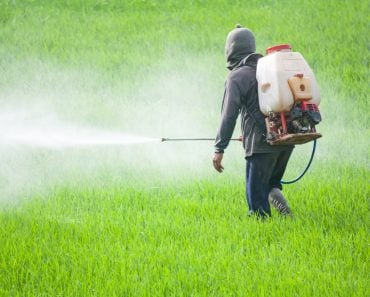
The most common way that farmers do this is through soil fumigation, where chemical fumigants are applied to the soil to kill all pathogens. Unfortunately, chemical fumigants are toxic chemicals that move from the soil to the air and affect people working in the farms. Soil solarization, on the other hand, does not use any chemicals. It uses the abundantly and freely available sunshine to eliminate soil pathogens.
Soil solarization can be practiced in both small and large farms, and even in home gardens. All you need is a large sheet of plastic and hot days with clear skies.
Recommended Video for you:
How Is Soil Solarization Done?
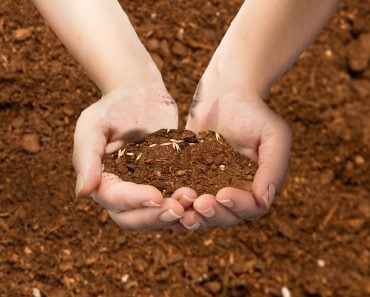
The first step in soil solarization is to prepare the soil. The soil must be plowed well so that very smooth beds can be made. Smooth beds ensure that there are minimal air spaces between the plastic and the soil, leading to uniform heating.
Next, the soil is irrigated. Wet soil results in more effective solarization than dry soil, as moisture conducts heat better and weakens the pests. Some beneficial soil microorganisms also attack soil pathogens in the presence of moisture.
The soil is irrigated to at least 12 inches deep. As soon as irrigation is done, the plastic is applied atop the soil. If using drip lines, then irrigation can be done after applying the plastic.
The plastic is placed tightly on the soil and the edges are tucked in. The closer the plastic is to the soil, the better the heating effects will be. Transparent plastic is more effective for heating than black plastic, but black plastic prevents weeds from sprouting if the temperature cools down.

Timing is important. Soil solarization is typically done during the hottest part of the year when there are clear skies. The area of soil to be solarized should be in direct sunlight, without intermittent periods of shade.
The plastic is left on the soil for 4-6 weeks. During this time, the plastic traps solar heat. Studies have shown that the soil at a depth of 2 inches reaches a temperature of 108-140 °F (42-60 °C), and 90-99 °F (32-37 °C) at a depth of 18 inches. Many soil-borne pathogens, including weeds, some nematodes, insects and bacteria, are killed at these elevated temperatures.
4 to 6 weeks is considered the optimum time for solarization for maximum effect on pests. This technique can be applied to entire fields or to specific beds in your field or home garden.
Biosolarization
Biosolarization is an advanced form of solarization where crop residue and compost are incorporated into the soil prior to solarization. This organic matter in the soil decomposes in the heat and releases products, such as toxins and organic acid, which are effective in killing soil-borne pathogens. However, organic matter should not be excessively incorporated, as the soil will become toxic for an extended period. This soil will then need to be cleaned and detoxified by irrigation or leaching prior to planting the crop.
Not All Pests Are Controlled
Soil solarization is effective against diseases like Verticillium wilt, Fusarium wilt, Phytophthora root rot, southern blight, damping-off, crown gall disease, tomato canker, potato scab etc.
However, not all diseases can be controlled. Examples of disease that cannot be controlled are melon decline and the charcoal rot of many crops. Nematodes are also difficult to control, as they move into deeper layers of soil to avoid the heat
Annual weeds are more likely to be controlled than perennial weeds. Perennial weeds often have roots and tubers that are buried deep in the soil.
Other Benefits Of Soil Solarization
Soil solarization alters the soil microbiome and increases nitrogen and other nutrients in the soil. Solarization also leads to the breakdown of organic material, which releases soluble nutrients like nitrogen, magnesium, calcium, and fulvic acid, which are then more easily available to the plants.

Beneficial microorganisms, such as mycorrhizal fungi, as well as fungi and bacteria that parasitize plant pathogens (beneficial microbiome), can survive soil solarization and regrow once the treatment is done. Earthworms burrow deeper into the soil to escape the heat.
The main effect, obviously, is seen on the top layer of the soil and decreases gradually in the deeper layers.
With the disease pathogens and weeds under control, an improved supply of nutrients, and improved beneficial microorganisms, newly cultivated plants will grow better, leading to better yields.
After 4 To 6 Weeks
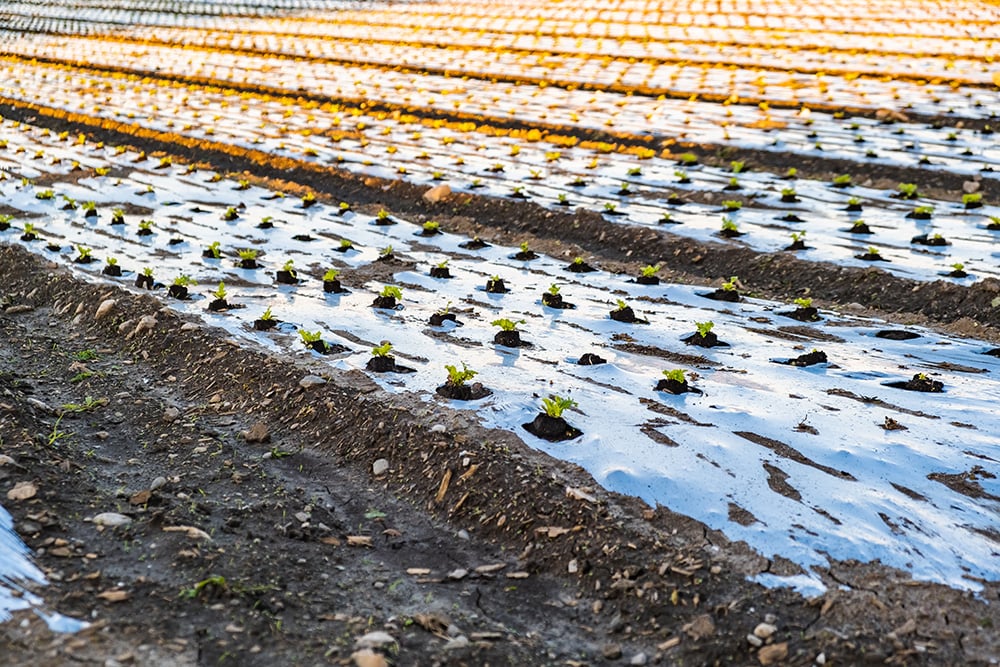
After 4-6 weeks, the treatment is done, the plastic is removed and the seeds are sown. Alternatively, plastic can be painted white (to keep the soil cool) and then holes can be punched into the plastic where seeds and/or transplants are sown. Care should be taken not to till the soil at this stage, as that would mix unsolarized and solarized soil.
Conclusion
Soil solarization is a simple and inexpensive way to clean up soil pathogens. All you need is the sun’s radiant energy, a plastic sheet, and some time. In addition to disinfesting the soil, this practice improves the nutrient content in the soil and promotes the growth of beneficial microorganisms.